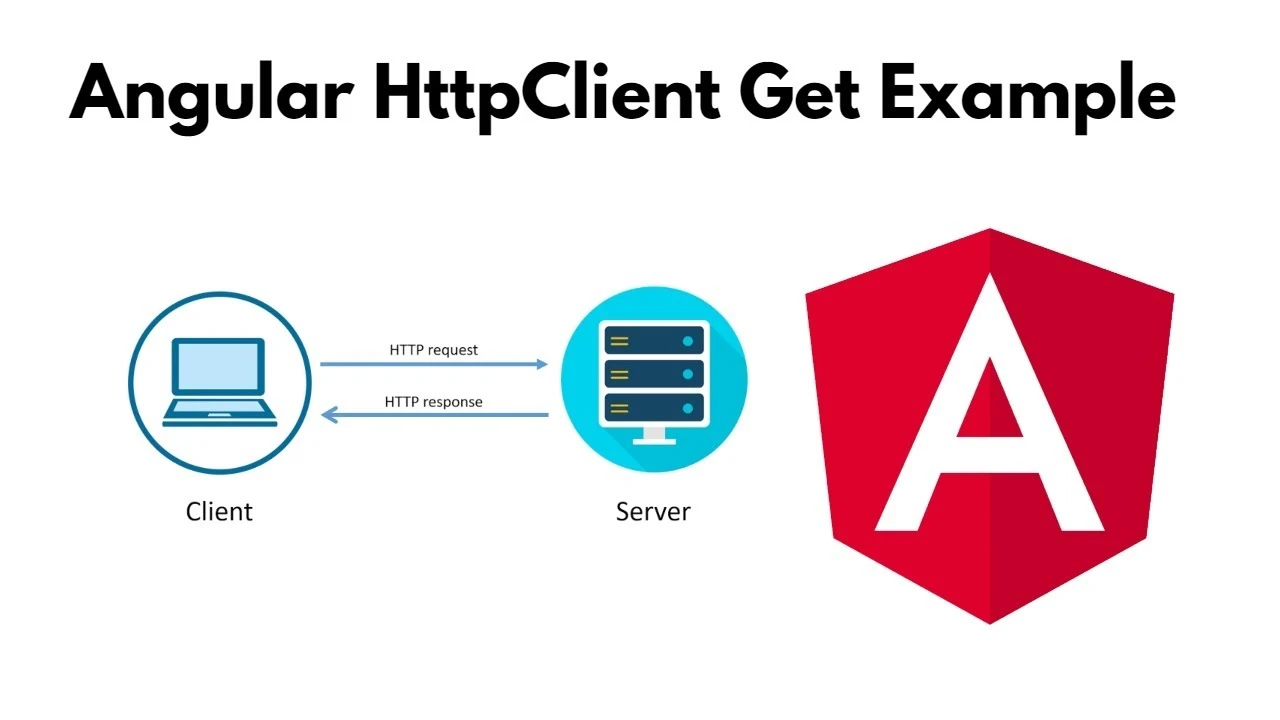
Angular HttpClient get: サーバーからデータを取得する方法
この記事では、AngularでHttpClientを使用してサーバーからデータを取得する方法について詳しく説明します。HTTPリクエストを簡単に行い、取得したデータをコンポーネント内で活用するための実践的な手法を紹介します。これにより、効率的なデータフェッチングが可能になります。
HttpClientの基本
HttpClientはAngularのHTTPクライアントモジュールであり、HTTPリクエストを簡単に実行できます。このセクションでは、HttpClientの基本的な使い方と、その導入方法について説明します。
まず、HttpClientModuleをアプリケーションのモジュールにインポートします。
import { HttpClientModule } from '@angular/common/http';

@NgModule({
    declarations: [ /* コンポーネント */ ],
    imports: [
        HttpClientModule,
        // 他のモジュール
    ],
    providers: [],
    bootstrap: [AppComponent]
})
export class AppModule { }
GETリクエストの実行
GETリクエストを使用してサーバーからデータを取得する手順を詳しく解説します。具体的なコード例を通じて、どのようにデータを取得し、コンポーネントで表示するかを学びます。
以下は、GETリクエストを実行するためのサービスの例です:
import { Injectable } from '@angular/core';
import { HttpClient } from '@angular/common/http';
import { Observable } from 'rxjs';

@Injectable({
    providedIn: 'root'
})
export class DataService {
    private apiUrl = 'https://api.example.com/data';

    constructor(private http: HttpClient) {}

    getData(): Observable<any> {
        return this.http.get(this.apiUrl);
    }
}
コンポーネントでこのサービスを利用してデータを取得し、表示します:
import { Component, OnInit } from '@angular/core';
import { DataService } from './data.service';

@Component({
    selector: 'app-data',
    templateUrl: './data.component.html'
})
export class DataComponent implements OnInit {
    data: any;

    constructor(private dataService: DataService) {}

    ngOnInit(): void {
        this.dataService.getData().subscribe(response => {
            this.data = response;
        });
    }
}
エラーハンドリングとデータ管理
HTTPリクエストを行う際のエラーハンドリング方法と、取得したデータを効果的に管理するテクニックについて考察します。これにより、リクエストが失敗した場合の対処法やデータの整合性を保つ方法がわかります。
以下は、エラーハンドリングを追加するコードの例です:
this.dataService.getData().subscribe(
    response => {
        this.data = response;
    },
    error => {
        console.error('Error fetching data:', error);
    }
);
このようにして、リクエストが失敗した際のエラーを適切に処理することができます。
まとめ
この記事では、AngularのHttpClientを使用してサーバーからデータを取得する方法について説明しました。HttpClientの基本的な使い方、GETリクエストの実行方法、エラーハンドリングのテクニックを学びました。これを通じて、Angularでのデータ管理がさらに効果的になるでしょう。
1. HttpClientとは?
HttpClientは、Angularで提供されている、HTTPプロトコルを使ったバックエンド通信のためのAPIです。Angular 4.3から新たに導入されたHttpClientModuleは、それまでのHttpModuleに代わるもので、より使いやすいインターフェースを提供します。HttpClientModuleでは、インターセプターやエラー処理といった便利な機能が追加されています。
また、バックエンドシステムに接続する必要がないユニットテストにおいては、HttpClientTestingModuleを使用して、バックエンドに依存しないテストを行うことができます。
2. HttpClientを導入する
2.1. HttpClientModuleをインポートする
HttpClientを使用するには、アプリケーションのモジュールファイルでHttpClientModuleをインポートする必要があります。
// app.module.ts
import { BrowserModule } from '@angular/platform-browser';
import { NgModule } from '@angular/core';
import { HttpClientModule } from '@angular/common/http';
import { AppComponent } from './app.component';

@NgModule({
  declarations: [AppComponent],
  imports: [BrowserModule, HttpClientModule],
  providers: [],
  bootstrap: [AppComponent]
})
export class AppModule { }
3. HttpClientのCRUDオペレーション
3.1. GETリクエスト
データベースにあるオブジェクトを取得するためにGETリクエストを使用します。HttpClientはObservableを返すため、asyncパイプやPromiseと組み合わせてデータの取得が可能です。
// service.ts
import { HttpClient } from '@angular/common/http';
import { Injectable } from '@angular/core';
import { Observable } from 'rxjs';

@Injectable({
  providedIn: 'root'
})
export class DataService {
  private apiUrl = 'https://api.example.com/data';

  constructor(private http: HttpClient) {}

  getData(): Observable<any> {
    return this.http.get(this.apiUrl);
  }
}
3.2. POSTリクエスト
新しいデータをバックエンドに追加する際にPOSTリクエストを使用します。
// service.ts
addData(newData: any): Observable<any> {
  return this.http.post(this.apiUrl, newData);
}
3.3. DELETEリクエスト
特定のオブジェクトを削除する場合は、DELETEリクエストを使用します。
// service.ts
deleteData(id: number): Observable<any> {
  return this.http.delete(`${this.apiUrl}/${id}`);
}
3.4. PUTリクエスト
PUTリクエストは、オブジェクト全体をアップデートする場合に使用します。
// service.ts
updateData(id: number, updatedData: any): Observable<any> {
  return this.http.put(`${this.apiUrl}/${id}`, updatedData);
}
3.5. PATCHリクエスト
PATCHはオブジェクトの一部を更新する際に使用されます。PUTはオブジェクト全体を置き換えるのに対し、PATCHは部分的な更新のみを行います。
// service.ts
patchData(id: number, partialUpdate: any): Observable<any> {
  return this.http.patch(`${this.apiUrl}/${id}`, partialUpdate);
}
4. HttpClientの使い方
4.1. ヘッダー HttpHeaders
HttpClientでカスタムヘッダーを送信する場合は、HttpHeadersを使用します。
// service.ts
import { HttpHeaders } from '@angular/common/http';

getDataWithHeaders(): Observable<any> {
  const headers = new HttpHeaders().set('Authorization', 'Bearer token');
  return this.http.get(this.apiUrl, { headers });
}
4.2. インターセプター Interceptor
インターセプターは、リクエストやレスポンスに対して共通の処理を実行できます。例えば、トークンを付与するインターセプターは以下のように実装します。
// token.interceptor.ts
import { Injectable } from '@angular/core';
import { HttpInterceptor, HttpRequest, HttpHandler, HttpEvent } from '@angular/common/http';
import { Observable } from 'rxjs';

@Injectable()
export class TokenInterceptor implements HttpInterceptor {
  intercept(req: HttpRequest<any>, next: HttpHandler): Observable<HttpEvent<any>> {
    const token = 'your-token';
    const clonedReq = req.clone({
      setHeaders: {
        Authorization: `Bearer ${token}`
      }
    });
    return next.handle(clonedReq);
  }
}
4.3. URLパラメーター HttpParams
URLにパラメーターを付与する場合、HttpParamsを使います。
// service.ts
import { HttpParams } from '@angular/common/http';

getDataWithParams(): Observable<any> {
  const params = new HttpParams().set('id', '123');
  return this.http.get(this.apiUrl, { params });
}
よくあるエラーとその対処法
関連テーブル
| 操作 | コード例 |
|---|---|
| データ取得 | this.dataService.getData() |
| エラーハンドリング | console.error('Error fetching data:', error) |
関連記事
Q&A
- Q1: GETリクエストを使用する理由は何ですか?
- A1: GETリクエストは、サーバーからデータを取得するための最も一般的な方法であり、データの読み取りに適しています。
- Q2: どのようにエラーハンドリングを強化できますか?
- A2: ObservableのcatchErrorオペレーターを使用して、リクエスト失敗時の詳細なエラーメッセージを提供できます。
- Q3: サーバーからのレスポンス形式はどのように確認しますか?
- A3: サーバーのAPIドキュメントを参照して、レスポンスの形式を確認したり、Postmanを使用して実際のレスポンスを見ることができます。
その他の参考記事:angular httpclient